为什么选择 Bun 3.0?
2026 年 3 月,Bun 正式发布 3.0 版本,带来两个重量级特性:原生 HTTP 服务器和内置 JSX 支持。这意味着你可以用纯 TypeScript + JSX 编写全栈应用,无需任何构建工具配置。
传统 Node.js 开发需要 Express + Webpack/Vite + Babel 的组合,而 Bun 3.0 一个工具全部搞定:
准备工作
开始前,确保你的开发环境满足以下要求:
💡 Bun 3.0 支持 macOS、Linux 和 Windows,推荐在 macOS 或 Linux 上获得最佳性能。
实战步骤
初始化项目
创建新项目目录并初始化 Bun 配置:
mkdir bun-web-app && cd bun-web-app
bun init -y
生成的 bunfig.toml 已包含合理的默认配置,无需手动修改。
安装 React 依赖
使用 esm.sh 提供的 ESM 版本 React,避免模块兼容性问题:
bun add react react-dom
bun add -d @types/react @types/react-dom
⚠️ 如果使用标准 npm 源遇到 JSX 运行时错误,改用 esm.sh:import React from 'https://esm.sh/react@19'
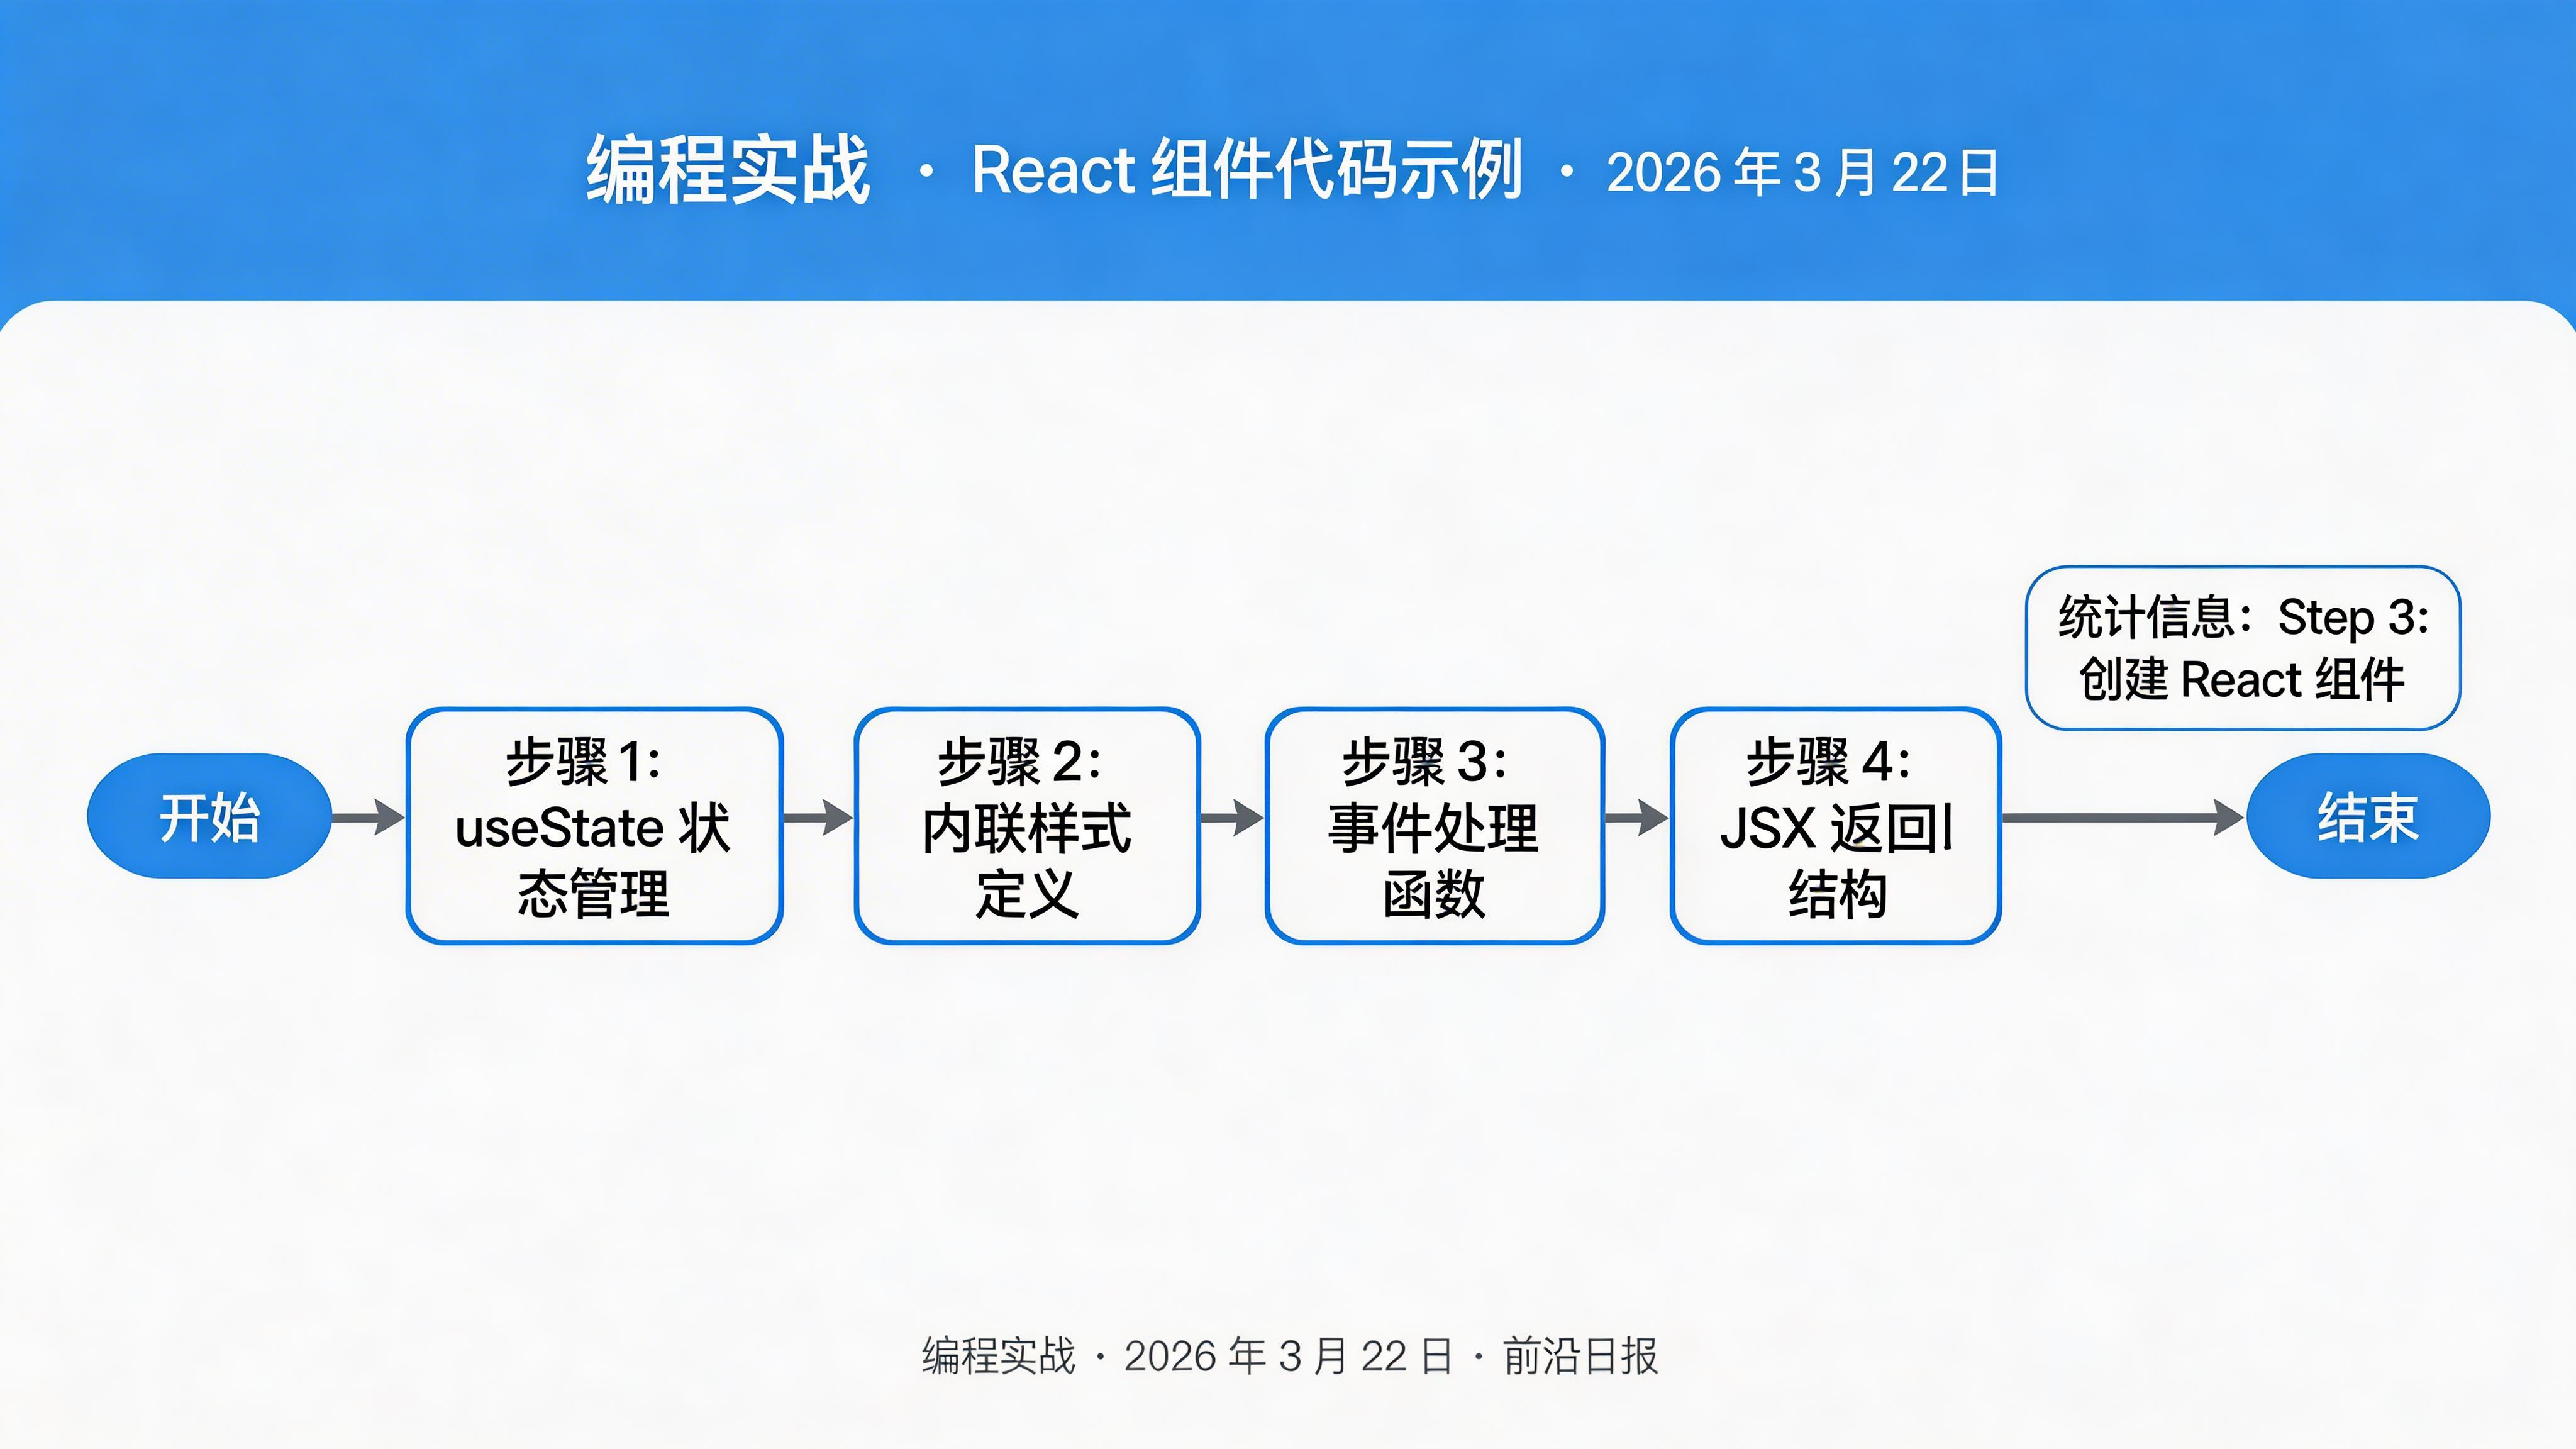
创建 React 组件
新建 src/App.tsx,编写你的第一个 JSX 组件:
import React from 'react';

export default function App() {
  const [count, setCount] = React.useState(0);

  return (
    <div style={{ padding: '40px', fontFamily: 'system-ui' }}>
      <h1 style={{ color: '#1d4ed8' }}>Hello from Bun 3.0!</h1>
      <p>计数器:{count}</p>
      <button
        onClick={() => setCount(c => c + 1)}
        style={{
          padding: '10px 20px',
          background: '#1d4ed8',
          color: 'white',
          border: 'none',
          borderRadius: '6px',
          cursor: 'pointer'
        }}
      >
        点击 +1
      </button>
    </div>
  );
}
创建 HTML 入口
新建 src/index.html,导入 React 组件:
<!DOCTYPE html>
<html lang="zh-CN">
<head>
  <meta charset="UTF-8">
  <meta name="viewport" content="width=device-width, initial-scale=1.0">
  <title>Bun 3.0 Web App</title>
</head>
<body>
  <div id="root"></div>
  <script type="module">
    import React from 'react';
    import { createRoot } from 'react-dom/client';
    import App from './App.tsx';

    createRoot(document.getElementById('root'))
      .render(<App />);
  </script>
</body>
</html>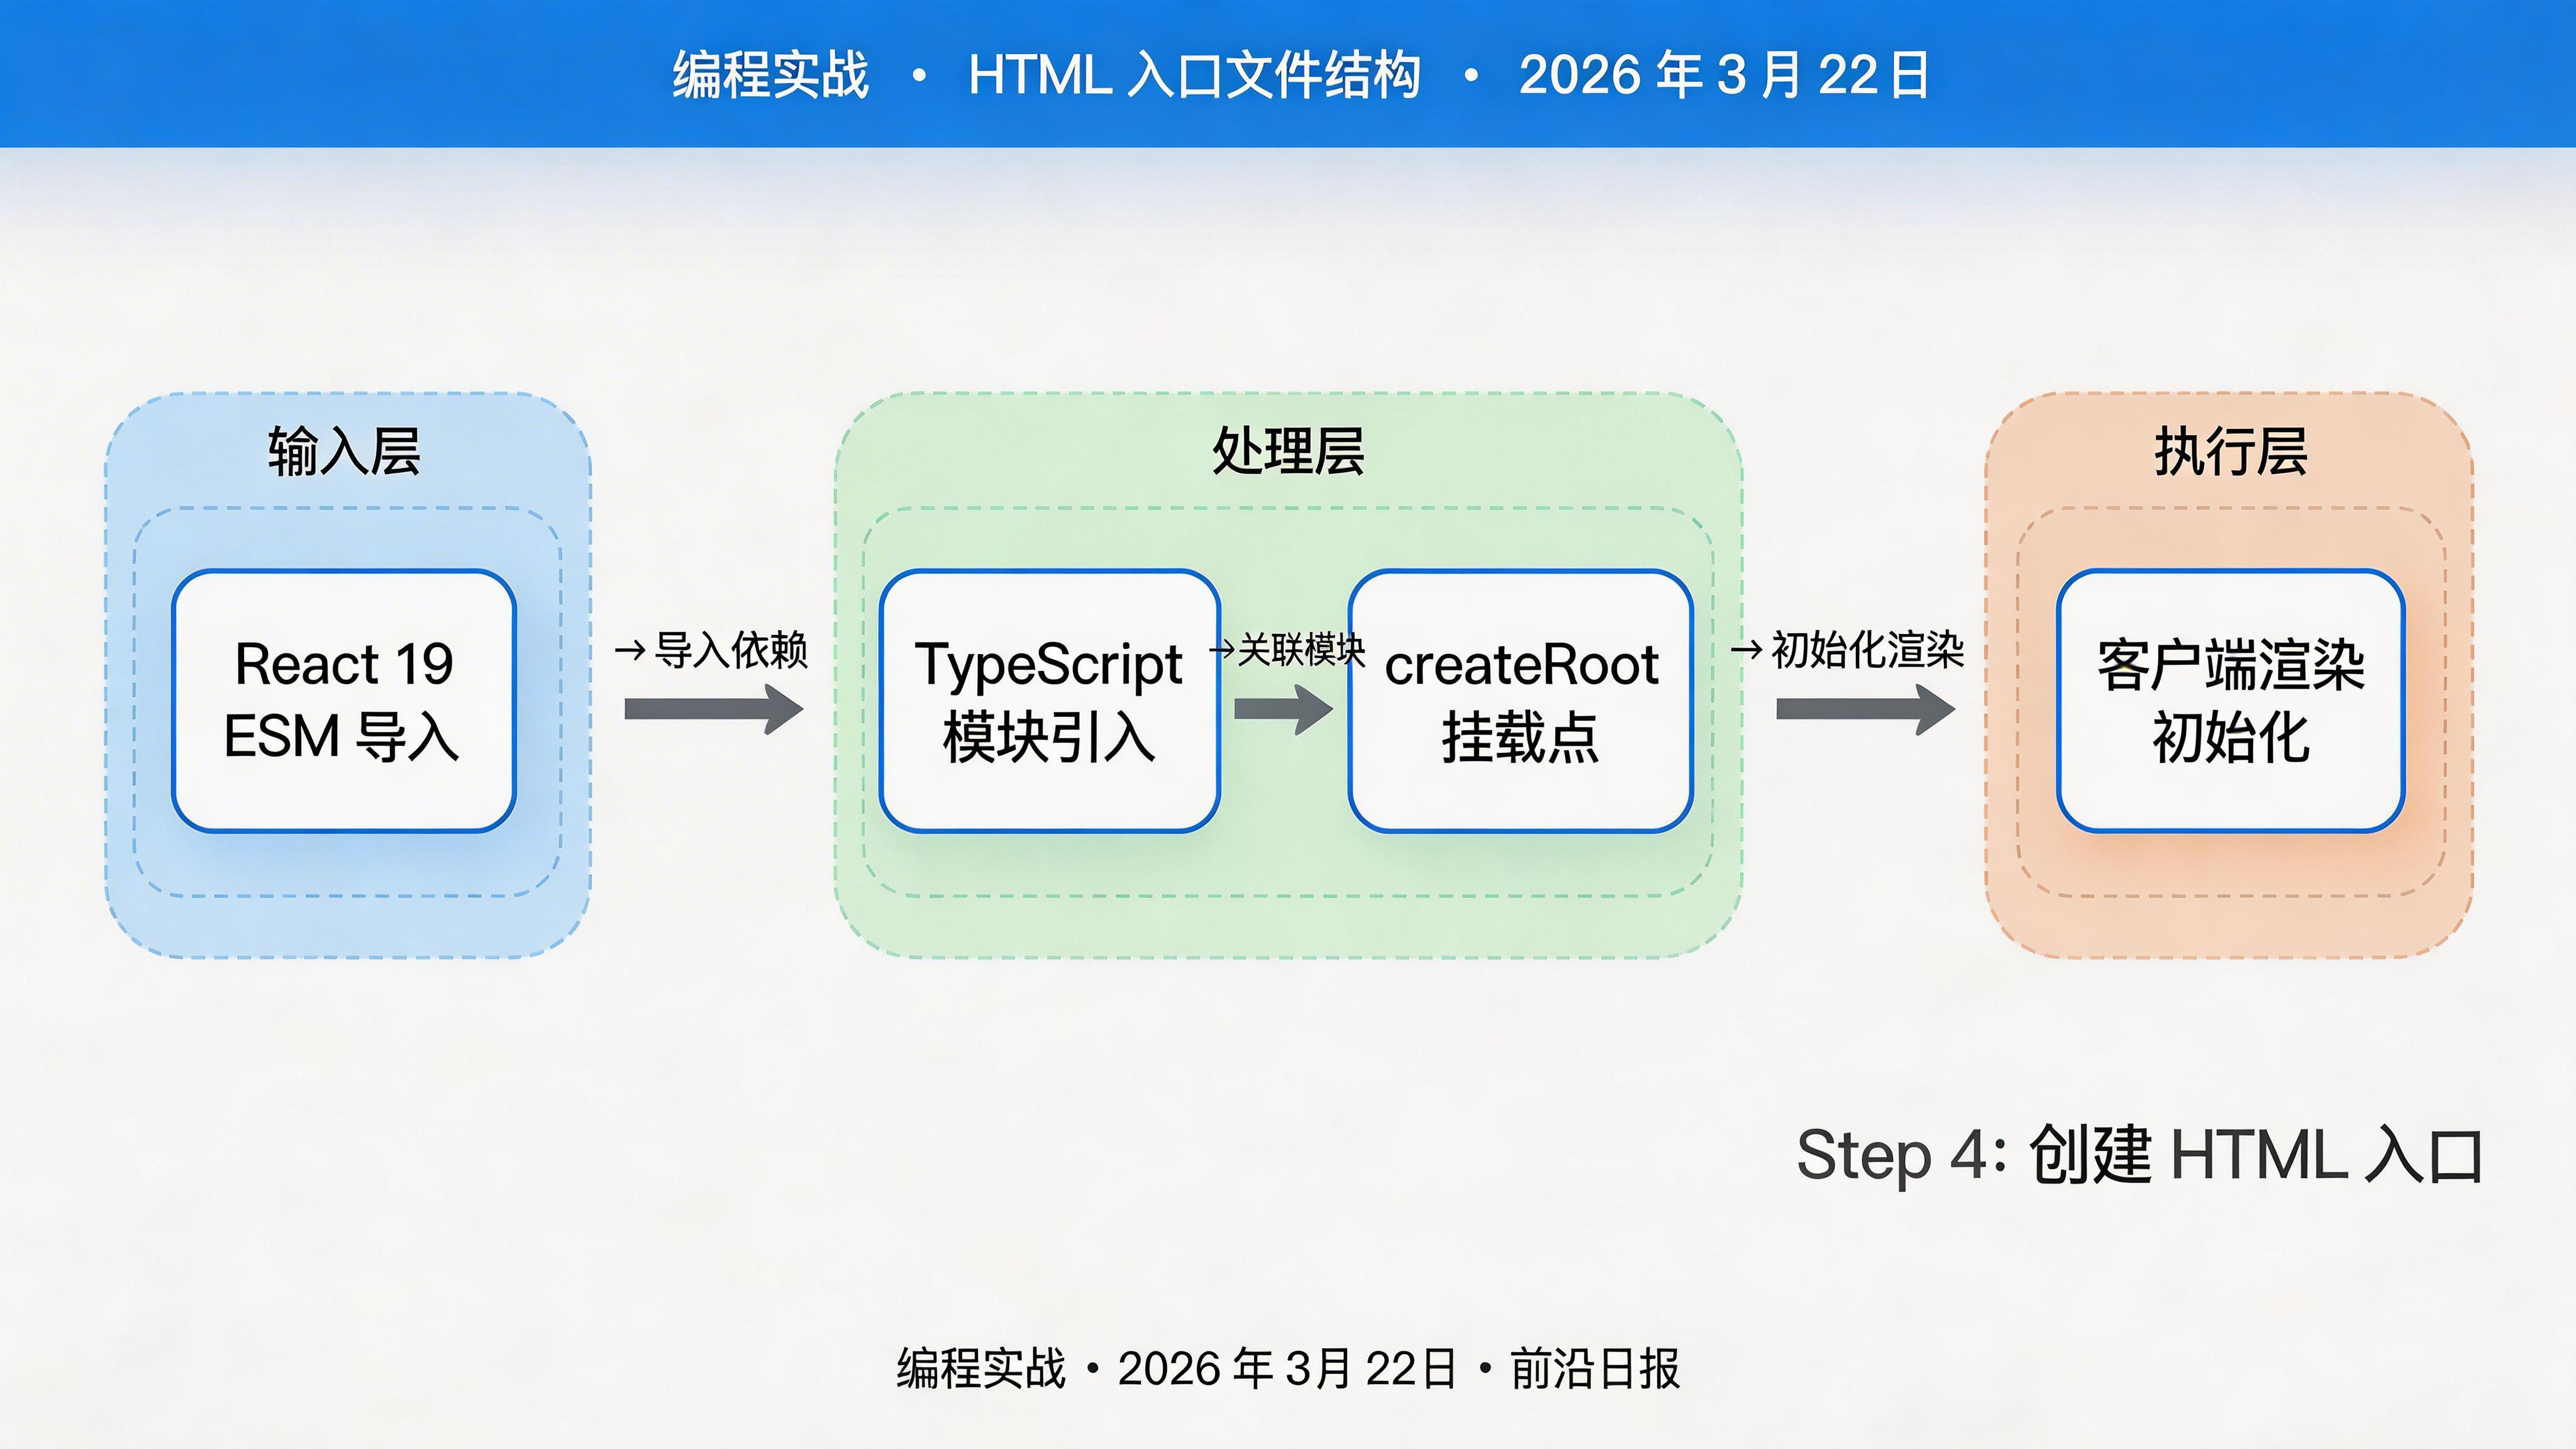
编写 HTTP 服务器
新建 src/server.ts,使用 Bun.serve() 启动服务器:
import { serve } from 'bun';
import indexHtml from './index.html';

const server = serve({
  port: 3000,
  hostname: '0.0.0.0',
  routes: {
    '/': indexHtml,
    '/api/health': () => new Response('OK'),
    '/api/time': () => Response.json({ time: new Date().toISOString() }),
  },
  fetch(req) {
    return new Response('Not Found', { status: 404 });
  },
});

console.log(`🚀 Server running at http://${server.hostname}:${server.port}`);
Bun 会自动转译 TSX 和 HTML 导入,无需额外配置。

启动开发服务器
运行服务器并开启热重载:
bun --hot run src/server.ts访问 http://localhost:3000,即可看到 React 应用运行。
💡 --hot 参数启用热模块替换,修改代码后无需刷新页面即可看到变化。
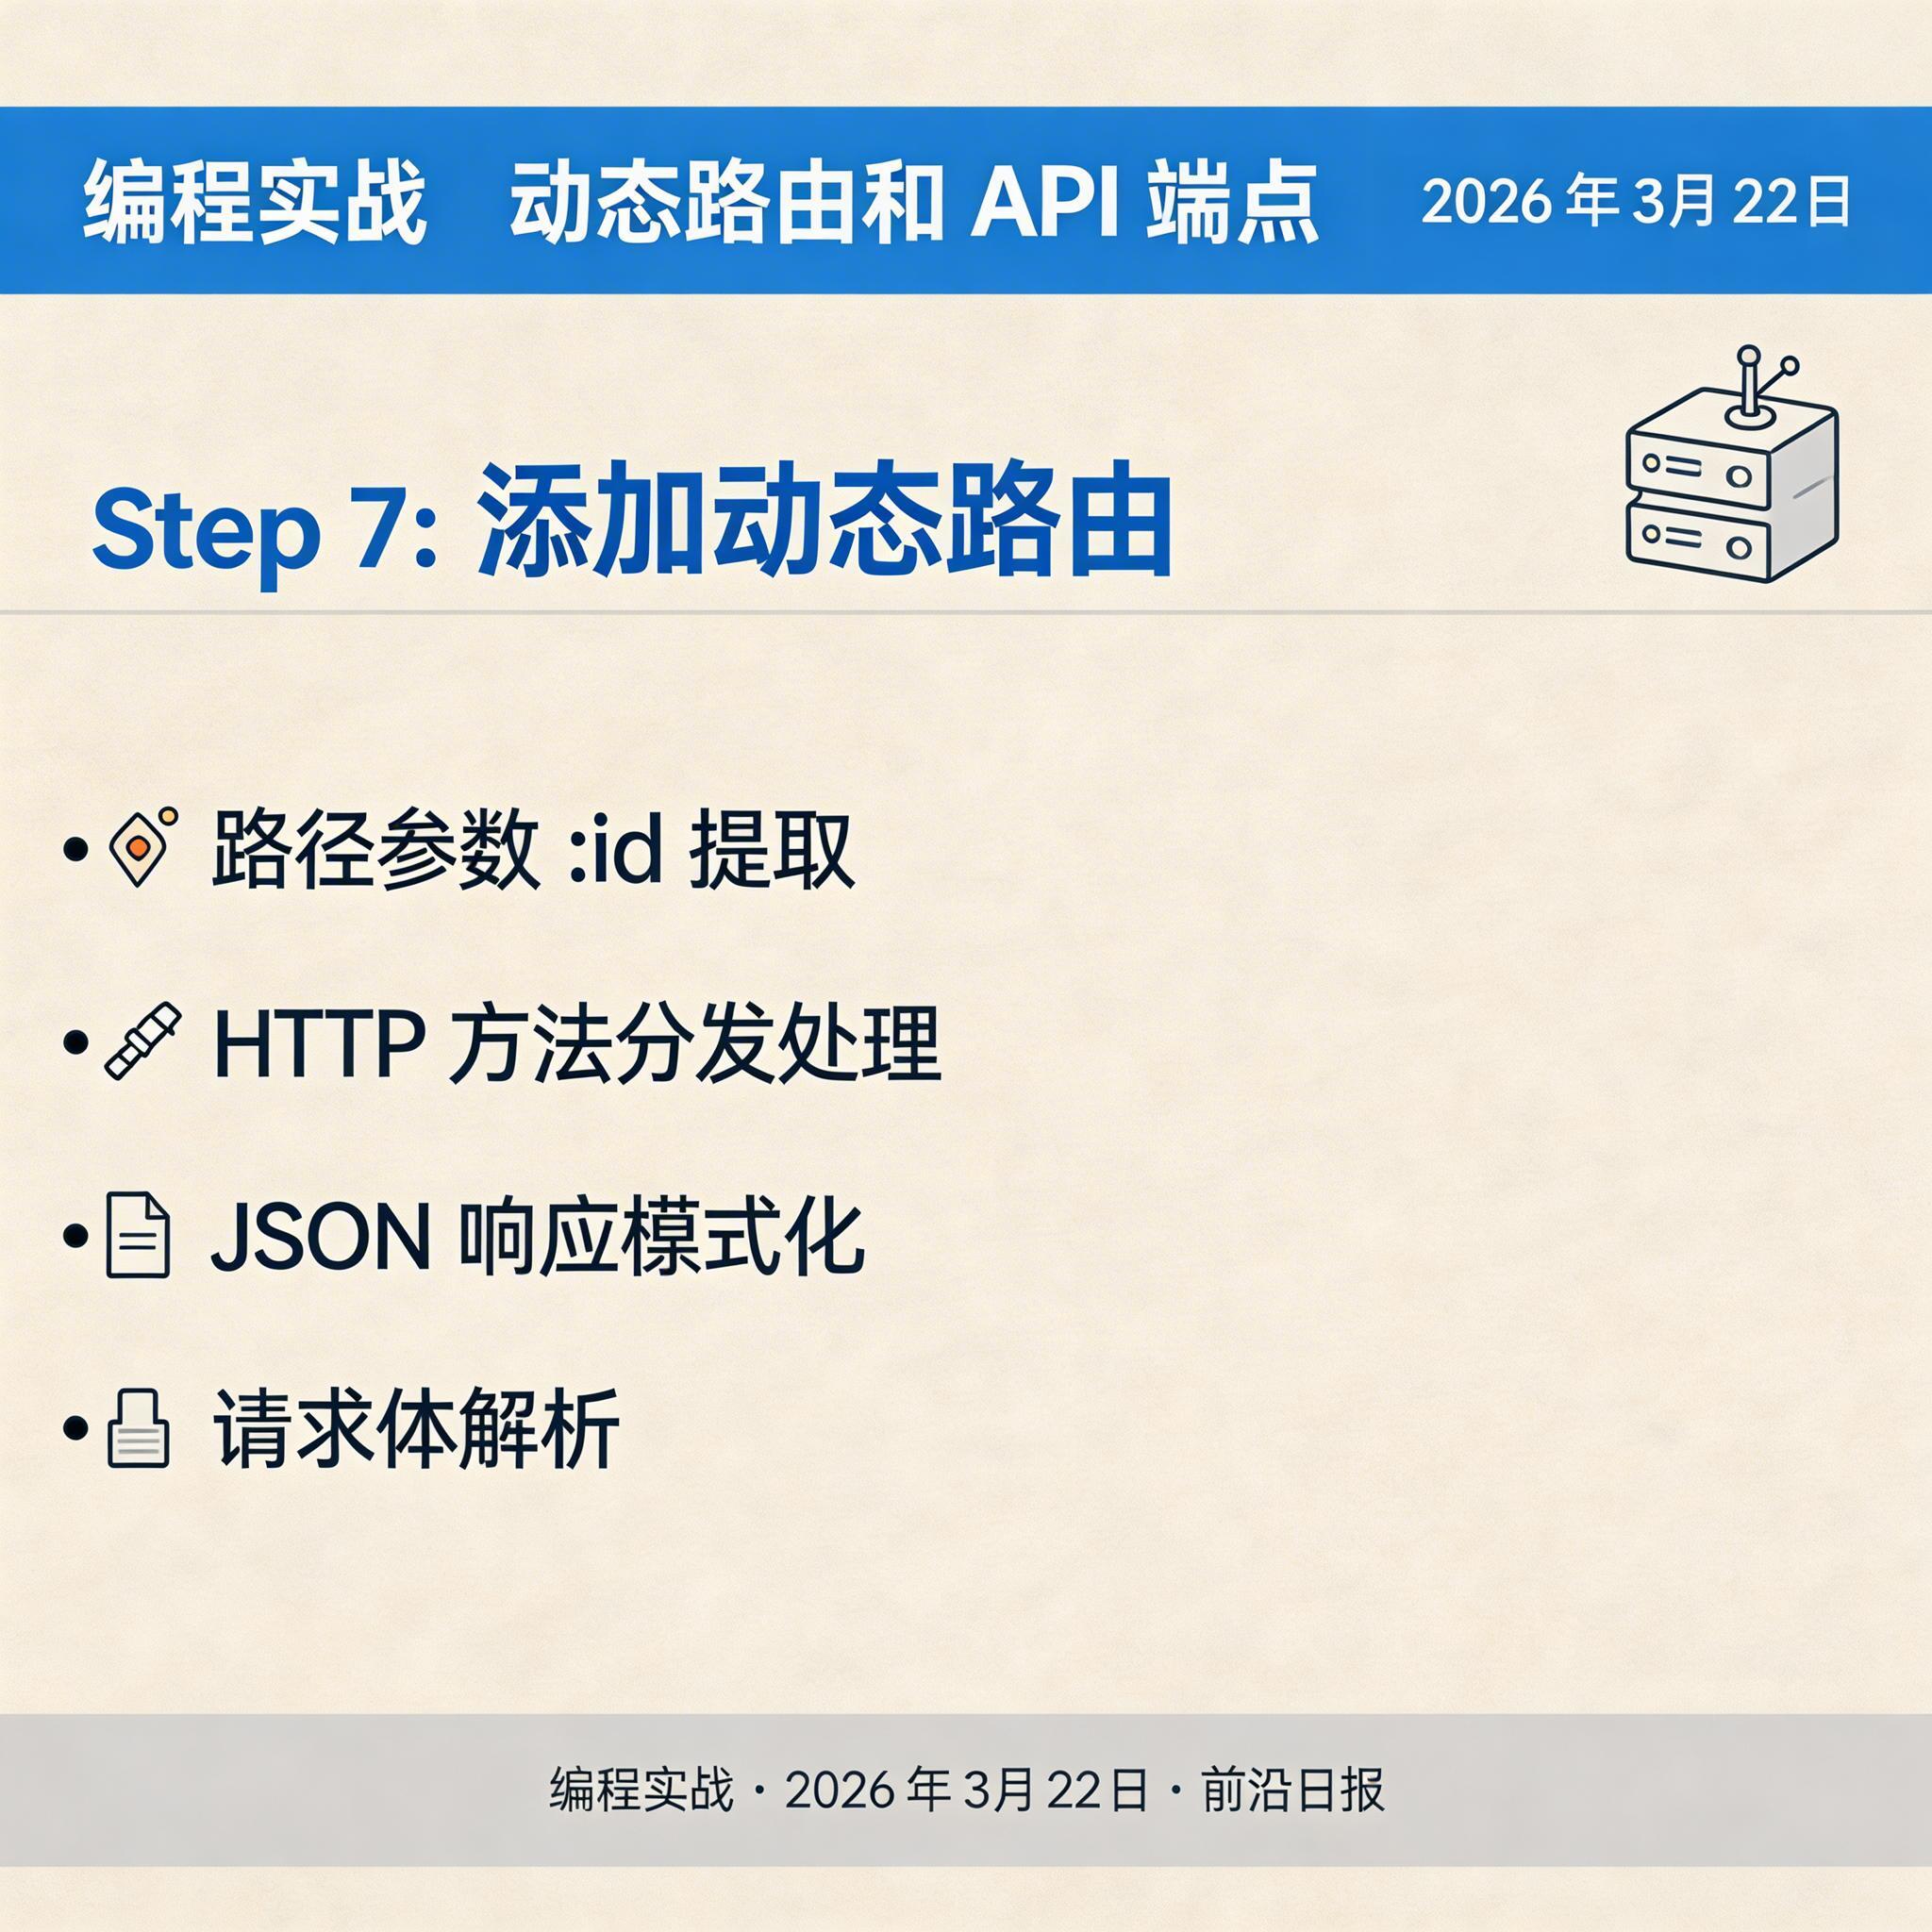
添加动态路由
扩展示例,支持动态参数和 API 交互:
const server = serve({
  port: 3000,
  routes: {
    '/': indexHtml,
    '/users/:id': (req) => {
      const userId = req.params.id;
      return Response.json({ id: userId, name: `User ${userId}` });
    },
    '/api/counter': {
      GET: () => Response.json({ count: Math.floor(Math.random() * 100) }),
      POST: async (req) => {
        const body = await req.json();
        return Response.json({ success: true, value: body.value });
      },
    },
  },
});
性能测试与优化
使用 autocannon 进行压力测试:
bun add -d autocannon
npx autocannon -c 100 -d 10 http://localhost:3000/api/health
Bun 3.0 的 HTTP 服务器在 100 并发下可达到 80,000+ req/s,是 Express 的 3 倍以上。
🚀 进阶优化:使用 Unix 域套接字代替 TCP 端口,本地通信性能再提升 20%。
常见问题 FAQ
import React from 'https://esm.sh/react@19',或在 bunfig.toml 中配置 jsx = "bun"。React.renderToString() 在服务端渲染组件,将 HTML 字符串注入响应:const html = React.renderToString(<App />); return new Response(html);bunfig.toml 中设置 websocket = { maxPayloadSize = 1024 * 1024 } 限制消息大小。bun build --compile src/server.ts 编译为单文件可执行程序,配合 Docker 或 systemd 部署。Bun 3.0 支持跨平台编译,macOS 上可编译 Linux 二进制文件。总结
- Bun 3.0 原生 HTTP 服务器性能超越 Express 3 倍,配置更简洁
- 内置 JSX 支持,无需 Webpack/Babel,直接导入 TSX 和 HTML
- 热模块替换(HMR)让开发效率翻倍,修改代码即时生效
- 8 个步骤完成从 0 到部署的全流程,适合有一定基础的开发者
- 兼容 Node.js 生态,可渐进式迁移现有项目